
How to anodize titanium using sulfuric acid
Is there an image that titanium is light and strong?
Because metal allergies are hard to come out, there are many applications for accessories, and it is also used in various ways for medical use.
Titanium has very interesting properties, and it has the property of taking on a very vivid color tone depending on the thickness of the oxide film.
This oxide film can be produced with a stable, uniform thickness through scientific operation, and can be created by controlling various colors.
This time, I would like to introduce a method of performing anodizing using electricity at home as one method for producing the oxide film of titanium.
What is titanium anodizing?
As I mentioned at the beginning, one method of producing an oxide film of titanium is anodizing.
In a previous article, I wrote about how to generate and color an oxide film by heating it.
It is possible to create an oxide film by heating, but in this case, it is difficult to keep the temperature constant, and it is difficult to produce a uniform oxide film.
The oxide film of titanium can make an oxide film by flowing electricity too.
When electricity is flowing, there are things like the inlet and outlet of electricity such as + (anode) and – (cathode), but it is called anodized because titanium is placed on the anode side and electricity is flowing.
When generating an oxide film by flowing electricity, the thickness of the coating generated by the height of the voltage varies, and because it grows only to a certain thickness at a certain voltage, it is easier to obtain a uniform color tone than the heating method, and it is easy to control the color tone.
If there is an oxide film on the titanium surface, the wavelength shifts from normal light when light is reflected on the titanium surface and it reflects.
It interferes with the light of the shifted wavelength and usual light, becomes a specific wavelength, and it looks like various colors.
Since the deviation of the wavelength changes depending on the thickness of the oxide film, the color can be controlled depending on the thickness of the oxide film.
By the way, titanium itself does not have its color because it looks like its color by the reflection of light. Such a color is called a structural color. It is old now, but there is a part where the surface to be read of CDs and DVDs looks iridescent depending on the angle, but this is also a structural color.
Well, it has become long, but regarding the color change due to the oxide film of titanium, please see if you are worried because this site was easy to understand.
What to prepare
Well, let’s put it on this level, and first of all, I will introduce what is necessary for anodizing.
- rectifier
- solution
- anode
- cathode
- a container for which a solution is placed
Let’s take a closer look at each.
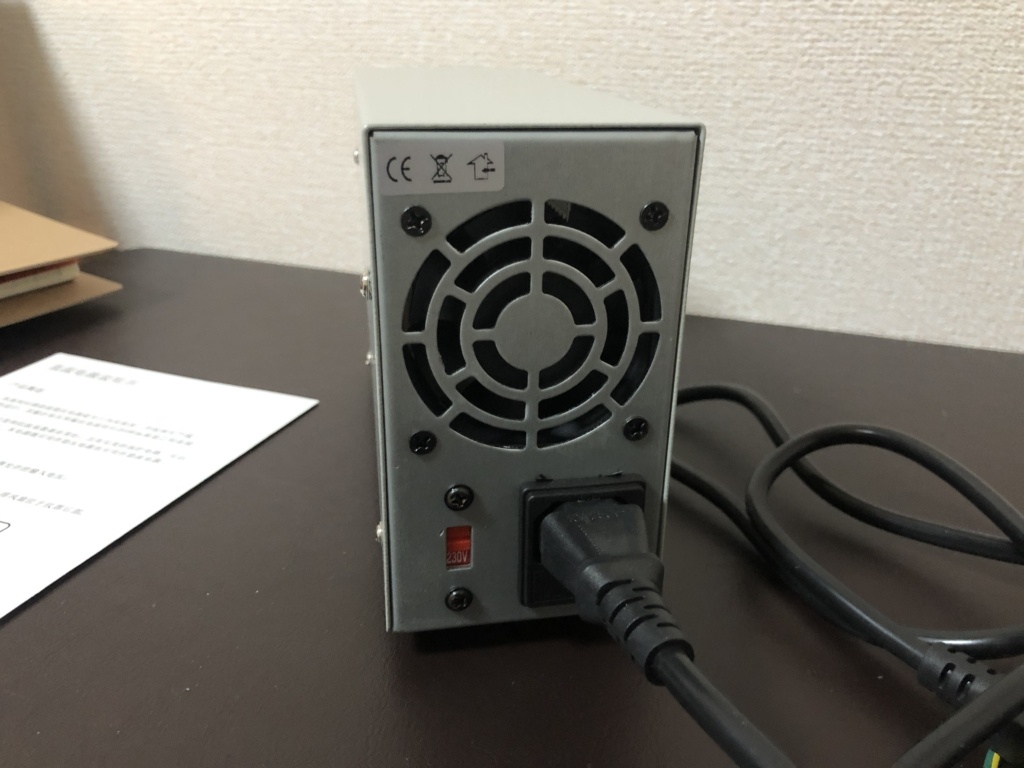
rectifier
A rectifier is a machine for flowing electricity.
It is the main machine of anodizing.
You may think very expensive when you try to buy it personally, but amazon sells a very many types of rectifiers for less than 10,000 yen.
In the case of anodized, I thought that it was better to have a wider range of voltages that can flow because the color tone changes depending on the voltage, so I purchased a 120V / 3A one of a manufacturer called wanptek.
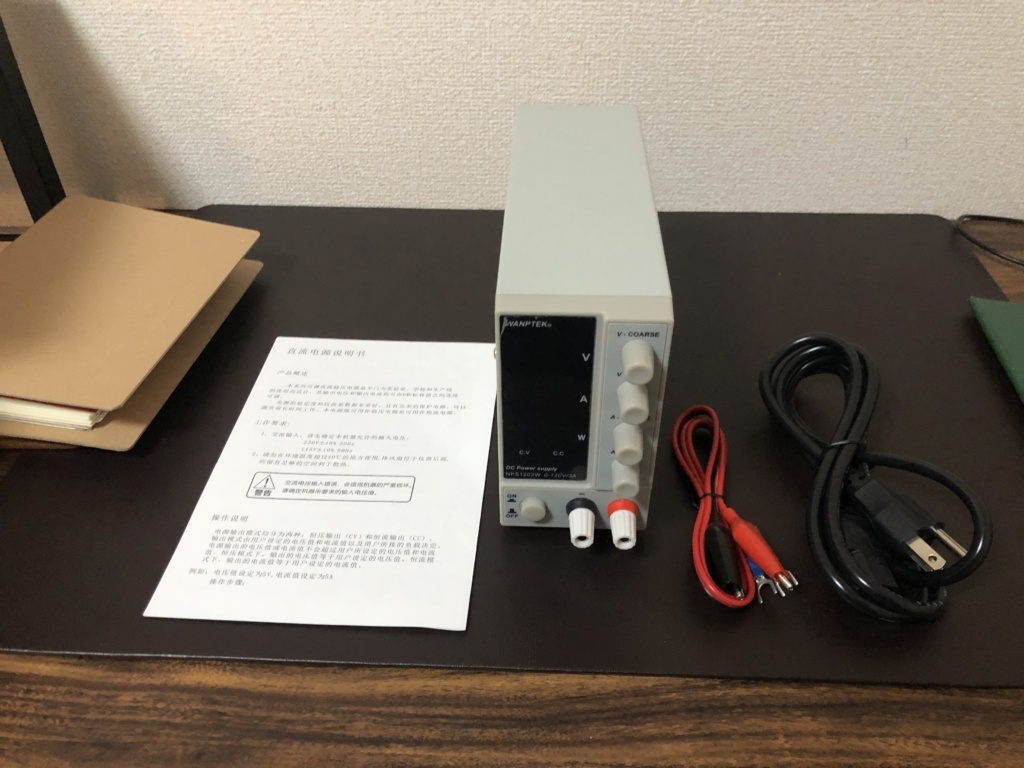

It is probably from a Chinese manufacturer, and the instructions are Chinese and English.
I read Chinese because I am better at Chinese, but to be honest, it is not written in detail at all.
It’s probably fine if you can’t read it. More information on how to use it will be described later.
By the way, when connecting an outlet to a power source, it is not possible to connect without an earth adapter.
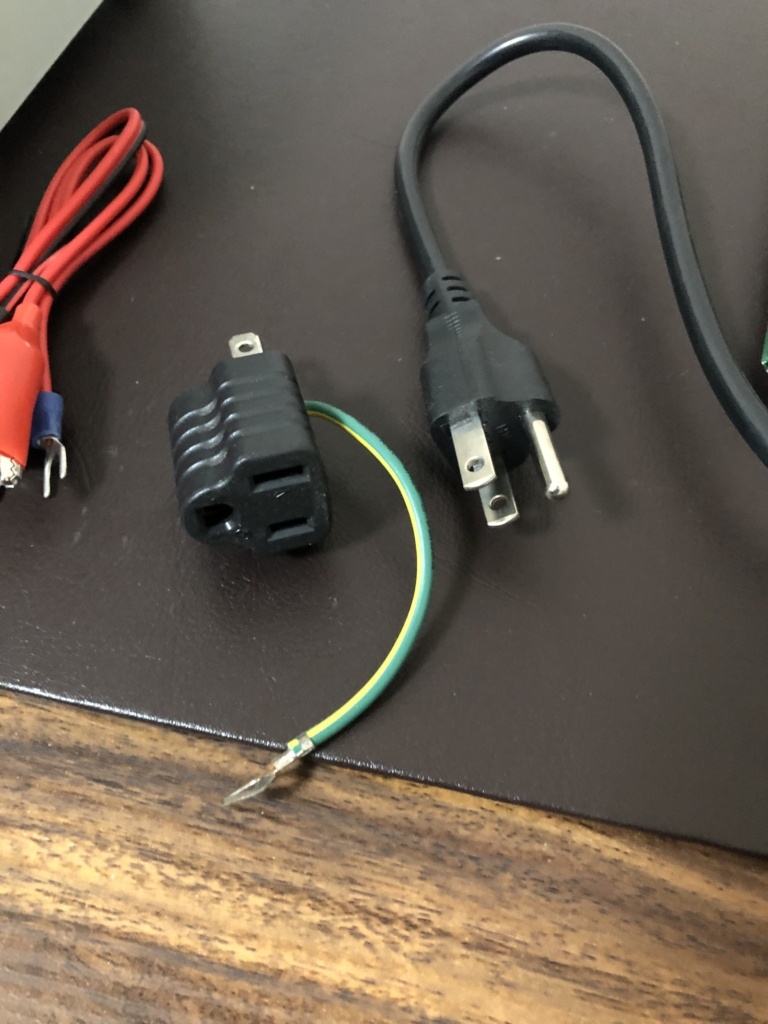
If you do not have an earth adapter at home, please prepare it together.

solution
When anodizing, electricity is poured into titanium through chemicals.
It seems that the way of the oxide film can be done is different depending on the chemical used at that time.
I read various documents, but sulfuric acid or phosphoric acid seems to be used in the anodizing of titanium.
In this article, I will introduce how to use sulfuric acid.
Both sulfuric acid and phosphoric acid can be purchased online.

Anode (jig for product connection)
Titanium is used for the anode, but titanium must be connected to the rectifier.
The rectifier has a red and black code that looks like the one used in the science experiment.
This red cord connects titanium, but you need a tool to connect it.
I think that this is basically good if it is a thing through which electricity flows. You can also sandwich it as it is with a clip attached to the red cord.
I used stainless steel wire because it was not very stable when using the clip of the red cord as it was, and it became difficult to work.

There are various kinds of stainless steel in stainless steel, and this wire becomes the kind of SUS304.
Usually, what could be applied to such a drug is to use SUS316, but I bought it because I did not sell it to a home improvement center.
I think that the frequency of use is also small, so there is probably no problem.

2021/02/25 Added
When a stainless steel wire is used as an anode, electricity flows toward the stainless steel, and it is better not to get into the solution, but if you want to pickle the object in the entire liquid, it is better to use titanium wire.

This titanium wire is made of pure titanium, but by using wires of the same material, the current flows not only to the wire, but also firmly to the object.
cathode
When electricity is flowing through chemicals, cathodes must also be prepared.
I think that there is basically no problem if the cathode also flows electricity. However, I think that the metal which has corrosion resistance is good to some extent to attach to sulfuric acid.
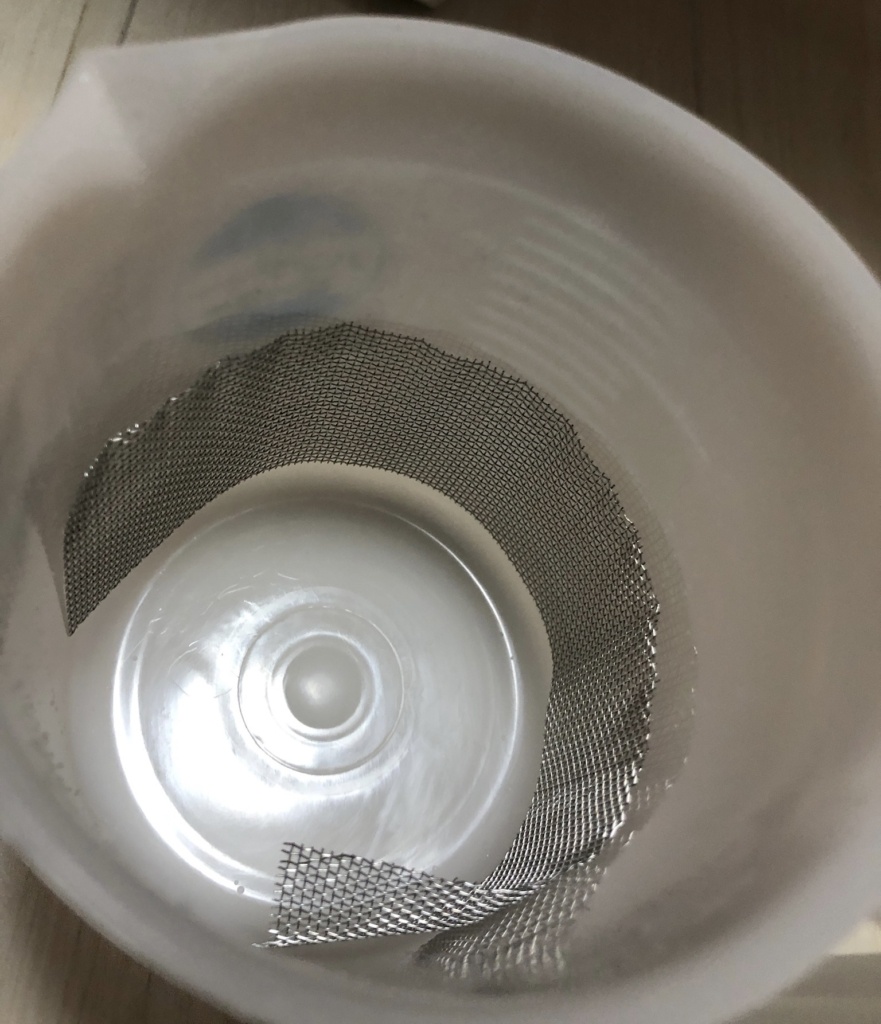
When reading the literature on anodizing, the cathode also seems to use titanium, but it is also difficult to procure titanium for cathode, so I used what I sold to the home center.

The type of stainless steel here was not written on the manufacturer’s website, but I think that it is probably 304 because it does not stick to the magnet.
I cut this appropriately and set it in a container.
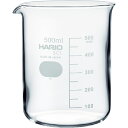
a container for which a solution is placed
Because it uses sulfuric acid, anything made of material that is not corroded by sulfuric acid is fine, but I think that it is safe to use resin or glass.

Chemicals for etching and smut removal
Before electricity is flowed by anodization, the surface of titanium must be chemically treated to ensure smooth oxidation.
For that, a drug called “1 minute can" and “oxidol" are required. How to do it is written in this article, but it is a drug that is not expensive, so you should definitely prepare it.
These chemicals may be only available in Japan. You want to look for same chemical in your country, You should look for the detergent or some solution including fluoride one and H2O2 one.
Steps
So let’s get the actual way.
1, Set the tool.
First, connect the prepared ones.
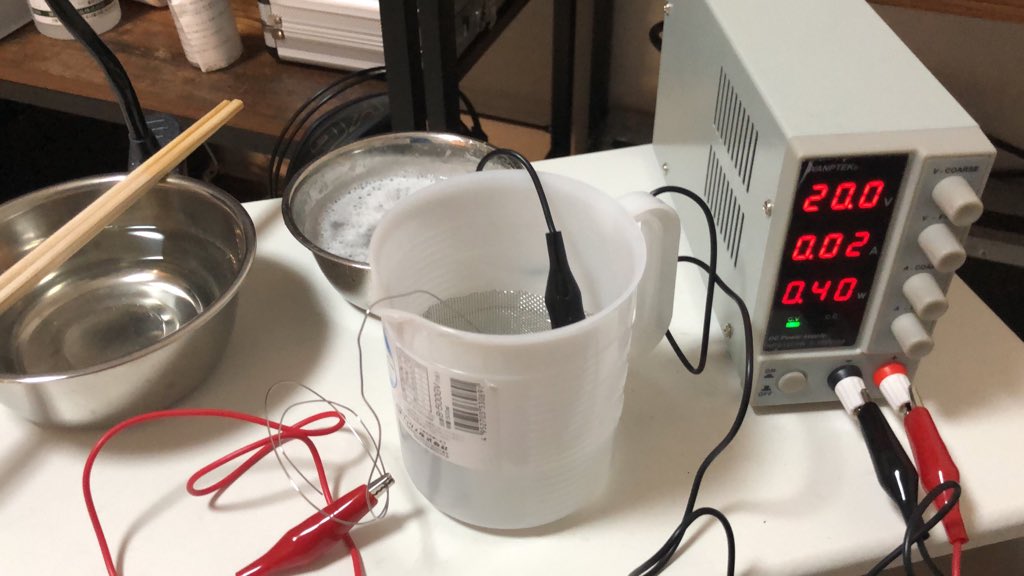
The cord that came with the rectifier doesn’t have alligator clip, so I bought and used the cord which has alligator clip for workability.
The black cord (cathode) connects to the black part of the rectifier, and the red cord (anode) connects to the red part of the rectifier.
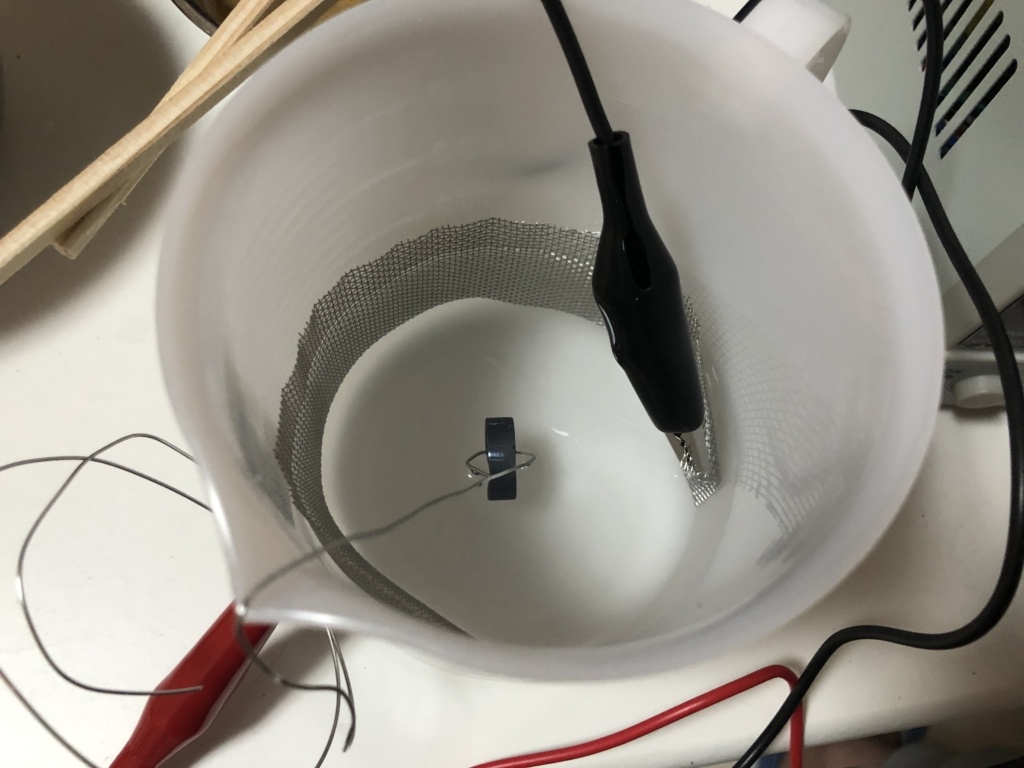
In the beaker there is 200 ml of sulfuric acid (10%).
The first corner of the mesh is slightly folded to make it easier to pinch the clip.
The stainless steel mesh is the cathode this time, so connect the black cord and connect the red cord towards the stainless steel wire.
2, Pretreat the product.
In the picture above, the product is already put in the solution, but you should do the pretreatment before putting in the solution.
The surface of the product is dirty with various stains. The fat in the hand is the main one, but you should clean it.
In addition, the color development changes depending on the roughness of the surface such as whether the surface of titanium is mirror glossy or hairline.
I make titanium ring by 3D printer, this surface is quite uneven.
It is also necessary to polish if you need glossy one.
I explained how to make it mirror gloss in below article, please see it together if you interested in.
In addition, it is better to chemically treat the surface of titanium before anodize it to create a state where pure titanium is exposed.
This process is called etching and smut removal.
Especially when producing green or pink that can only be produced at high voltage with pure titanium, this etching and smut removal are must be done.
Etching and smut removal are summarized in this article, so please take a look.
3, Electrify
How to operate the rectifier
Once everything is connected, electricity is passed.
This rectifier has a switch of the power supply voltage, I use this in Japan, so selects 115V.
Tokyo is 50Hz of 100V, so it may be said that the display and the actual voltage will change strictly, but for the time being, I think that there is no problem even with this because electricity is flowing.
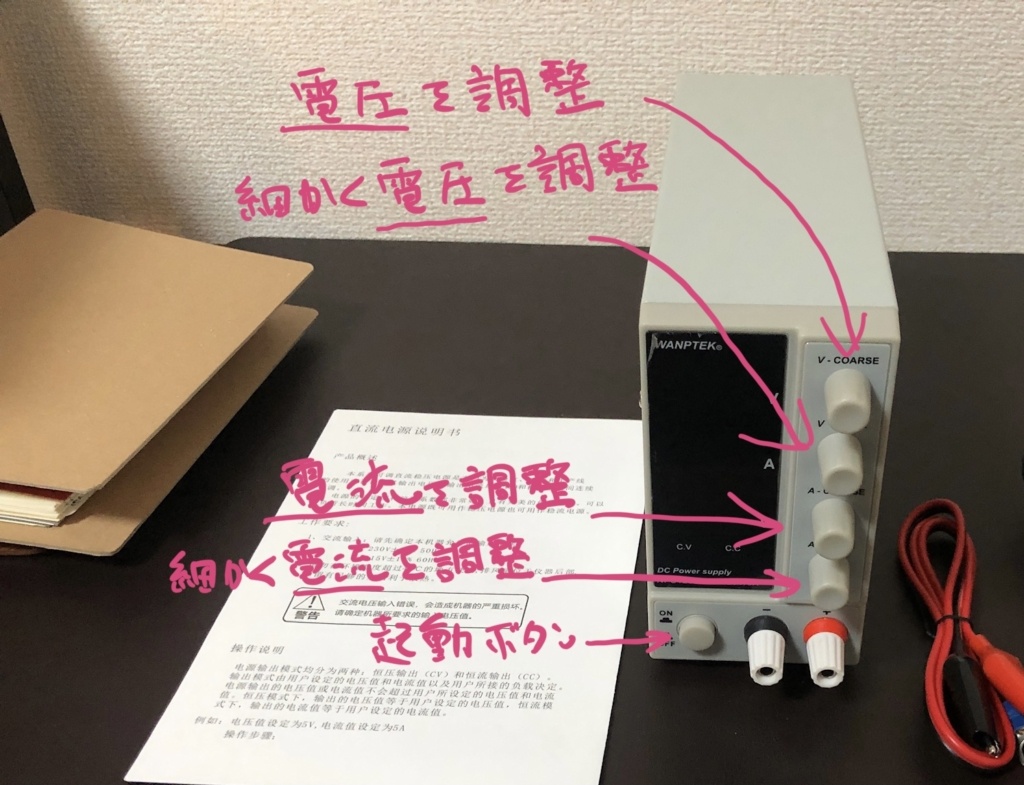
When you press the start button, electricity begins to flow.
There are four knobs that can be operated by this rectifier, the top two operate the voltage and the bottom two operate the current.
There are two types of controls in the rectifier: constant voltage that keeps the voltage at the set value and constant current that keeps the current at the set value, this rectifier automatically switches them.
When all knobs are set to 0, the letter CC is lit, but if you slowly twist the knob of the third current knob from the top, the CV lamp lights up. After that, turn the voltage knob to match the display to the desired voltage.
Tested conditions (voltage-color relationship)
Let’s take a table of the conditions and results I tried. I think that you can refer to it more if you can check it regularly because I will try it more and more in the future and update this table.
| No… | Voltage | Time | Results |
|---|---|---|---|
| 1 | 10V | 10 minutes | Yellow |
| 2 | 20V | 10 minutes | It was a blue-purple color, but it was a little dull. |
| 3 | 30V | 10 minutes | The color was thin, and it was dull though it became a pale color. |
| 4 | 40V | 10 minutes | yellow? |
| 5 | 50V | 10 minutes | It’s purple-ish. They are light in color |
| 6 | 60V | 10 minutes | They have a strong dullness |
| 7 | 70V | 10 minutes | Is it reddish purple? Still dull |
| 8 | 80V | 10 minutes | Reddish purple. This is also dull. |
| Nine. | 80V | 30 seconds | Dark blue. They are dull |
| 10 | 75V | 30 seconds | Reddish purple. They are dull |
| 11 | 70V | 30 seconds | Yellow, brown. They are dull |
| 12 | 65V | 30 seconds | Yellow with redness. They are dull |
| Thirteen. | 60V | 30 seconds | yellow. They are dull |
| Fourteen. | 55V | 30 seconds | yellow. They are dull |
| Fifteen. | 50V | 30 seconds | Yellow with bluishness. They are dull |
| Sixteen. | 45V | 30 seconds | green. They are dull |
| Yao-yeon | 40V | 30 seconds | green. They are dull |
| Eighteen. | 35V | 30 seconds | light blue. They are dull |
| Nineteen. | 30V | 30 seconds | blue. They are dull |
| Twenty. | 25V | 30 seconds | Dark blue. They are dull |
| 21. | 20V | 30 seconds | Dark blue. They are dull |
| 22 | 15V | 30 seconds | Reddish purple. They are dull |
| 23 | 10V | 30 seconds | tea. They are dull |
1 to 7 was difficult to understand the color development as I went to the second half because I used the same titanium ring repeatedly.
Also, it is not a beautiful color that has a strong overall dullness, perhaps because the time was too long. I think that it is because it experimented with the one which is not mirror polished perhaps. In anodized, it seems better to use a mirrored glossy process basically.
2021/02/25 Added
I tested it using a wire like one of titanium, so I added the result (No.9 to No.23).
If the voltage is 80V or more, there is a spark or a sound, and something like smoke came out, so I have not tried it at a voltage other than that.
I think that it is because there seems to be a property that the spark comes out when a constant voltage of spark voltage is exceeded.
In the solution of the phosphoric acid system, the voltage at which the spark comes out is 110 v or more, and the spark voltage is different, so if you want to produce a color of a high voltage, it seems better not to use sulfuric acid.
The relationship between voltage and color tone when phosphoric acid is used is summarized in this article.
Sulfuric acid 10% 10V 10 min result 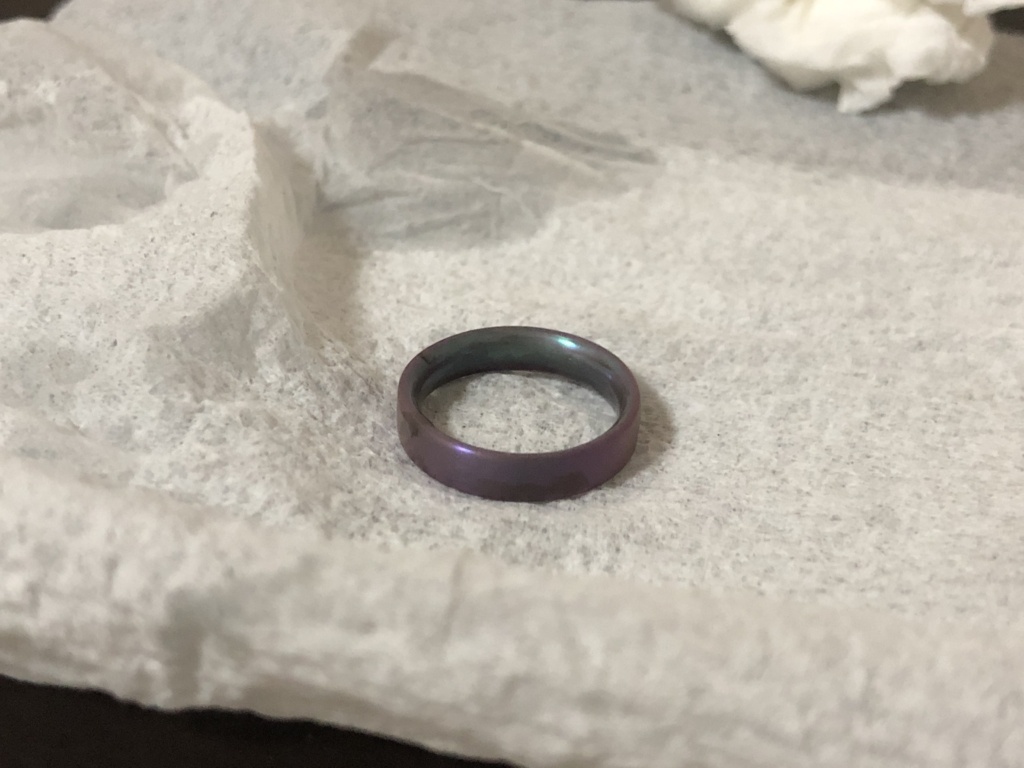
Sulfuric acid 10% 80V 10 min 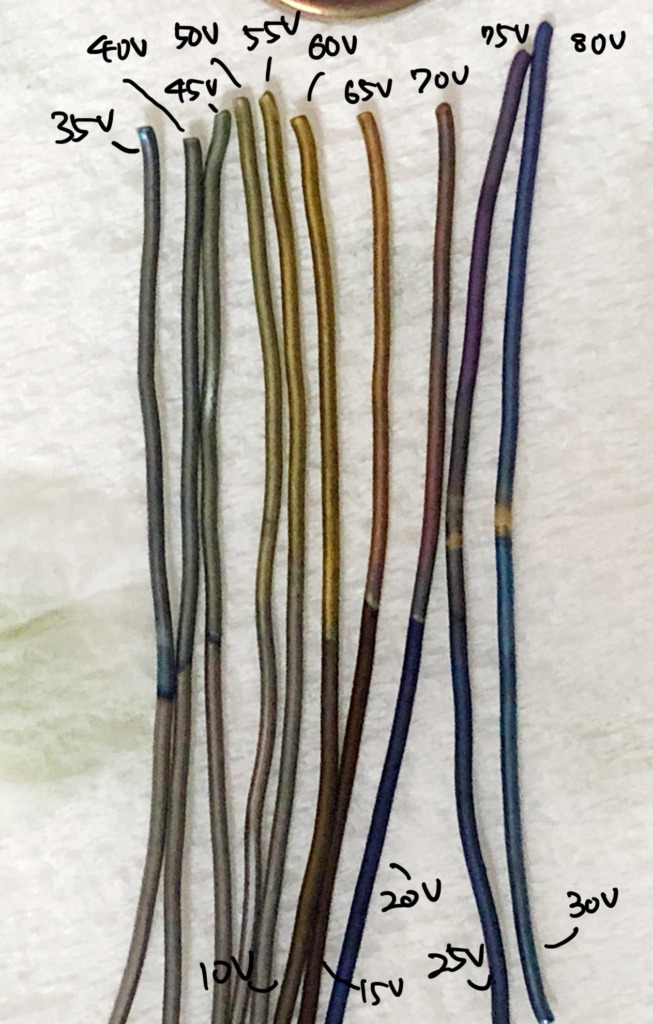
No.9〜No.23。 It was lowered from 80V by 5V.
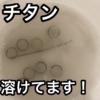
How to dissolvate oxide film
If you experiment in this way, the test piece will be lost immediately, but it can be easily use again by dissolving the oxide film.
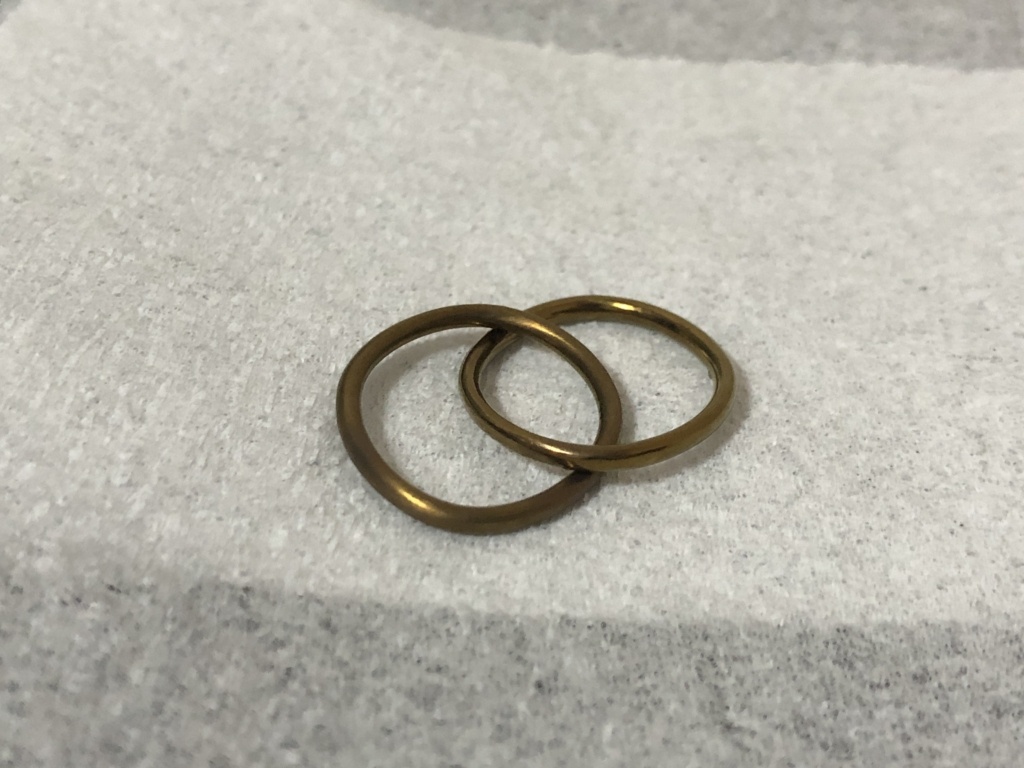
Accessories using titanium anodizing
So far, I have introduced how to DIY titanium anodizing. I use this technology to create accessories.
For example, it looks like this.

It is sold on this site, but if you are interested in ladders, please take a look.

Summary
How was it?
It seems that the time to energize is likely to be important.
I will continue to try various things in the future and make it possible to view various experiment results, so I would be happy if you can continue to see them.
Phosphoric acid is often used in anodizing titanium, and phosphoric acid is also experimenting. Please take a look at it.
And I have YouTube channel to introduce how make my accessories. If you want to check more detail of my accessories, Please check my YouTube and subscribe it!!