
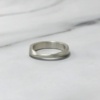
Mirror polish a 3D printed titanium ring.
If you make accessories, you will want to make shiny works.
The material itself is made from DMM.make, but it takes a lot of time to deliver when you put in post-processing, and it costs money.
If the cheapest titanium glossy one is cool, it is cheaper if you make it one of them, and the delivery time is fast.
Since it is difficult to polish by hand with a file, I think that it is better to purchase a luter to mechanize even a little, and to be able to give gloss with the luter, and I would like to introduce it because I have understood how to do it to some extent.
Titanium, a material that can be printed with DMM.make
I create a 3D model on my iPad and print it 3D through a site called DMM.make.
The detailed flow is summarized in this article, so please take a look.
DMM.make allows you to 3D print with a variety of materials.
In the case of making accessories, silver, brass, etc. are many, but titanium can also be printed.
Titanium has the advantage that the delivery time is fast and the price is low because it directly sinteres metal powder to form the shape.
However, due to the manufacturing method of sintering the metal powder, the surface becomes a matte texture with unevenness.
This is an ant as a design, but I want to make something more shiny as a variation.
If it is silver or brass, it will do mirror polishing, but the price is still high. In the case of silver, etc., the delivery time will be long because we take a casting method called the lost wax method.
If so, I thought that if I could acquire the technique that I could give a mirror gloss by myself, I would be able to enjoy a considerable advantage that it was cheap, the delivery time was fast, and the variation could be increased, so I started working on it.
Buy a luter to mechanize as much as possible
I wish I had a lot of files to prepare for mirror polishing, but I thought it was too difficult, so I bought a luter.
I think that you can understand the luter if you imagine something like a drill used by a dentist.
The tool attached to the tip is rotated at high speed and processed by hitting the object.
Because it rotates, I think that it is easy to obtain because it can process metal if you stroke it with a luter basically.
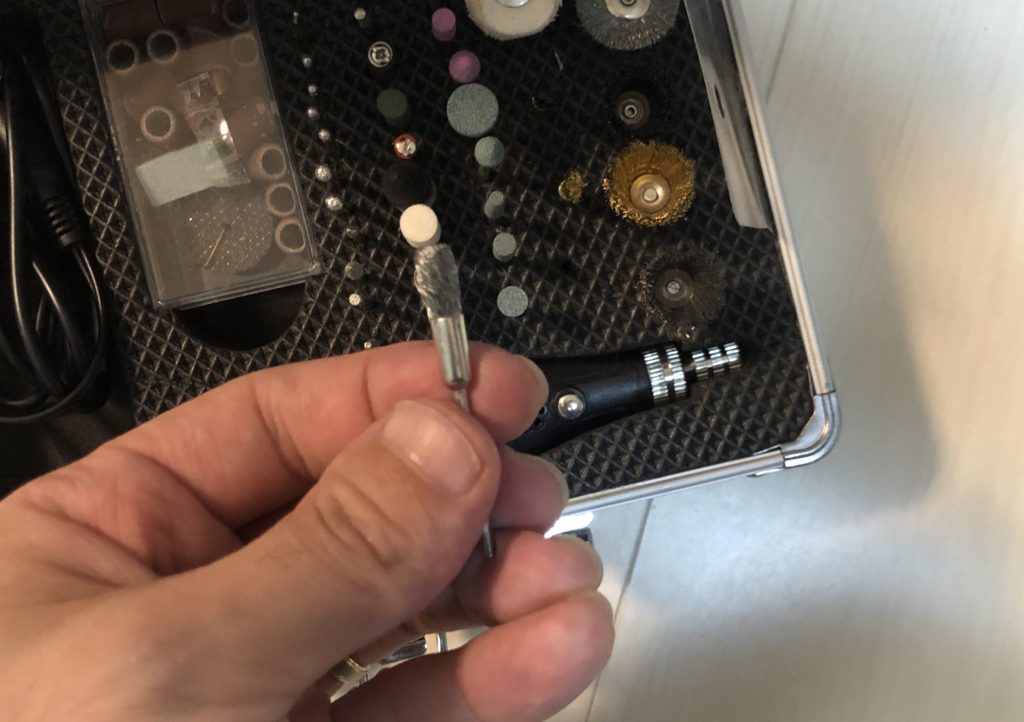
Now you can buy Tokyu Hands, or you can buy it on the net. It is quite cheap.
I think the thing in the case is better, so I choose here. Since it is a motor drive type, there is a disadvantage that the continuous use time is within 10 minutes but the rated use time is short, but I think that it is good for the amount to use for the beginning because there are all the tip tools at this price.
By the way, I purchase two sets of this luter and use it alternately because the work efficiency is bad to process for 10 minutes and let it rest.
I tried various tip tools in the extra edition.
It is an extra edition suddenly, but there were a lot of tip tools attached to the lute, so I tried it a little.
I want to see the main story quickly! If you say, please skip.
Each of them writes a brief comment.
Stainless steel wire. It seems to be usable for glossy soup stock. Steel adheres to the object though the surface can be certainly shaved well. 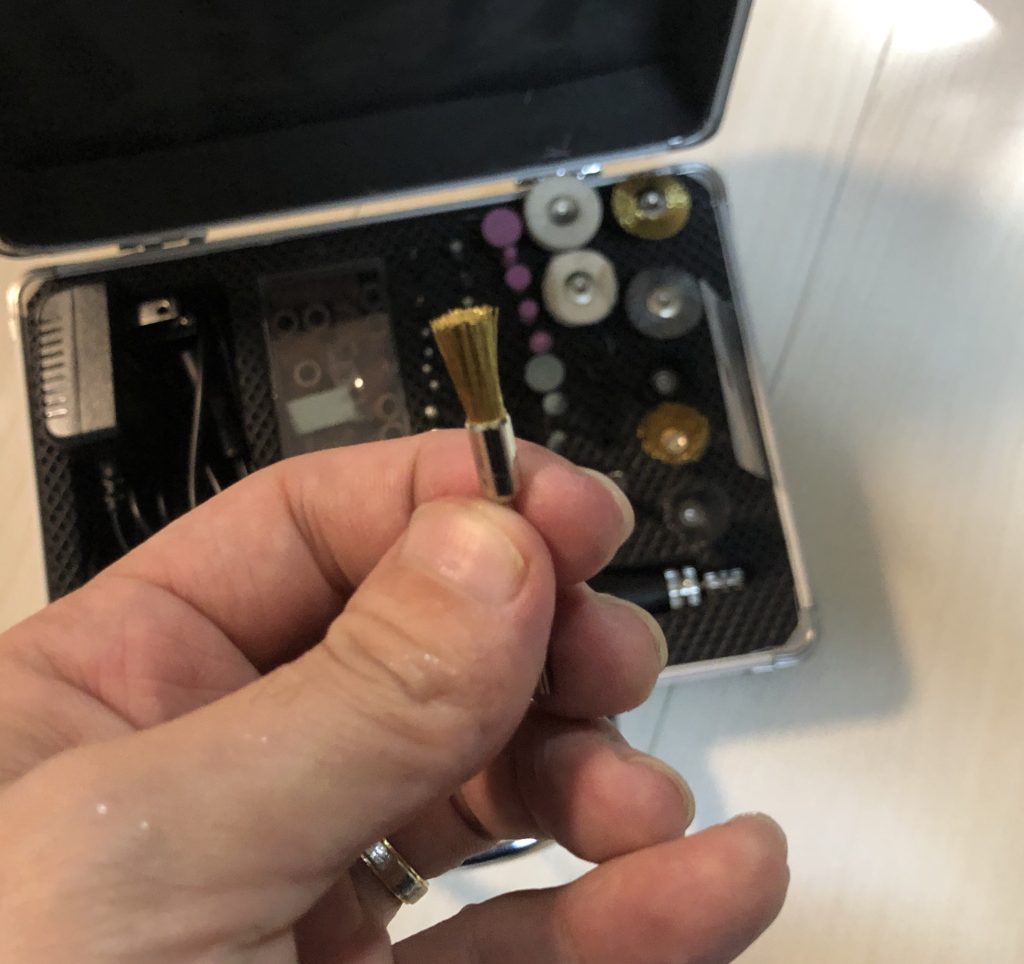
Brass wire. This can also shave the metal surface, but the brass adheres and turns yellow. 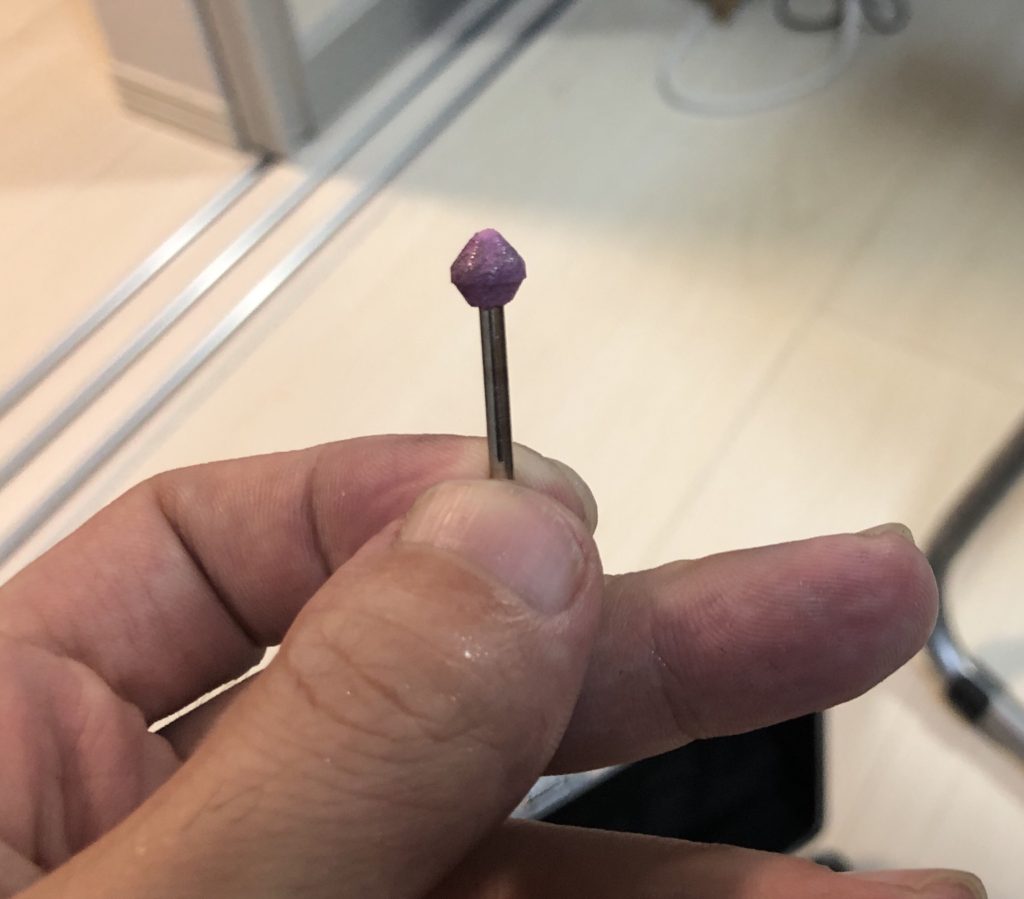
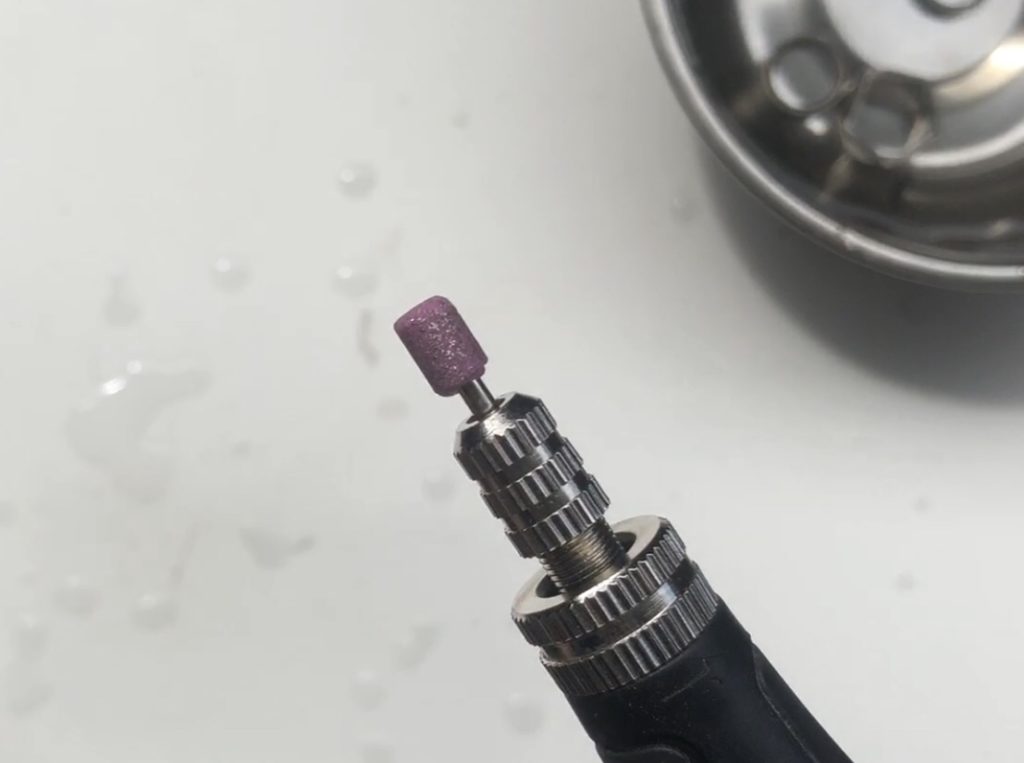
whetstone. It can be used for polishing to give gloss. 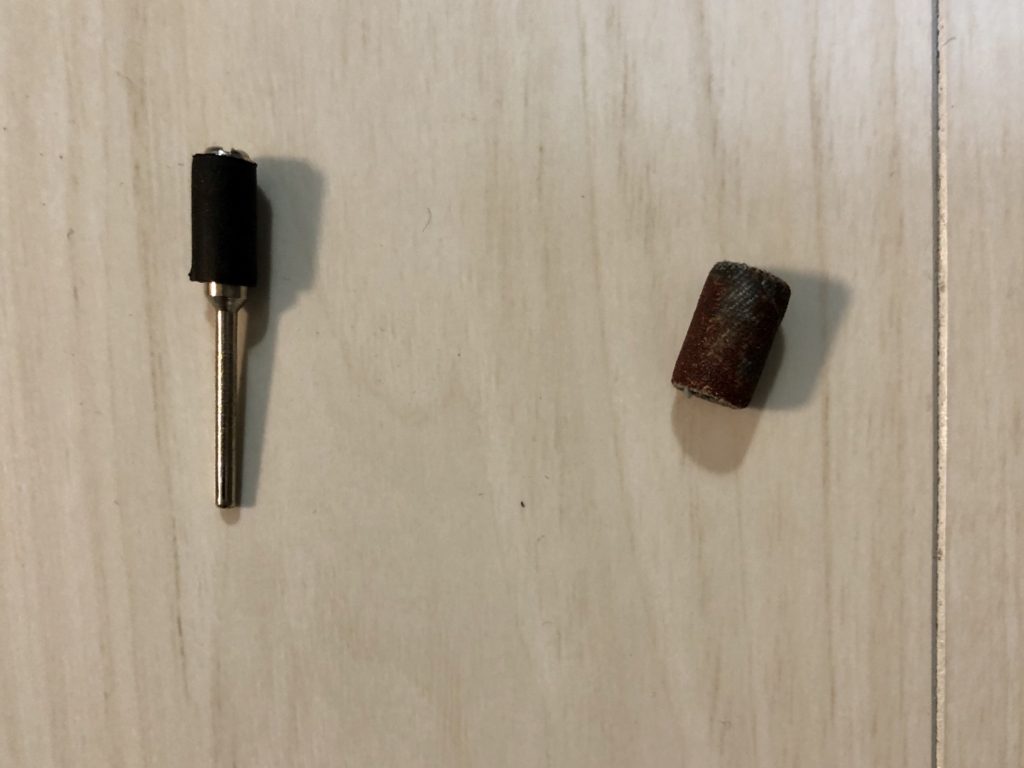
Sandpaper is attached to a drum with an axis and used. Titanium can also be shaved well. 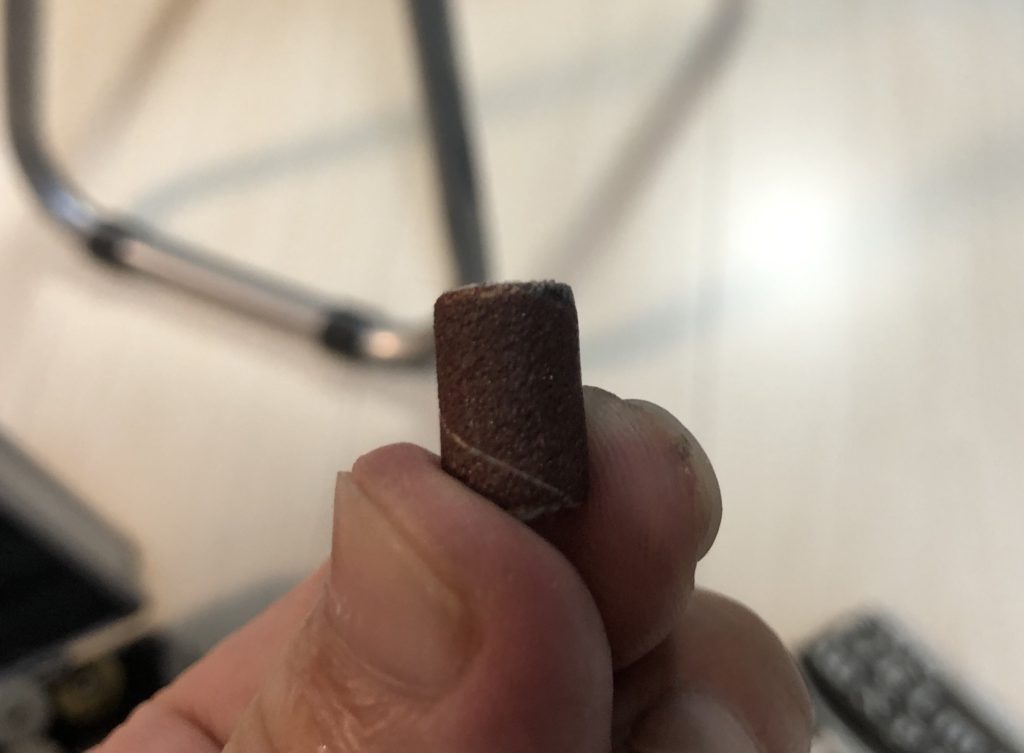
Enlarged sandpaper 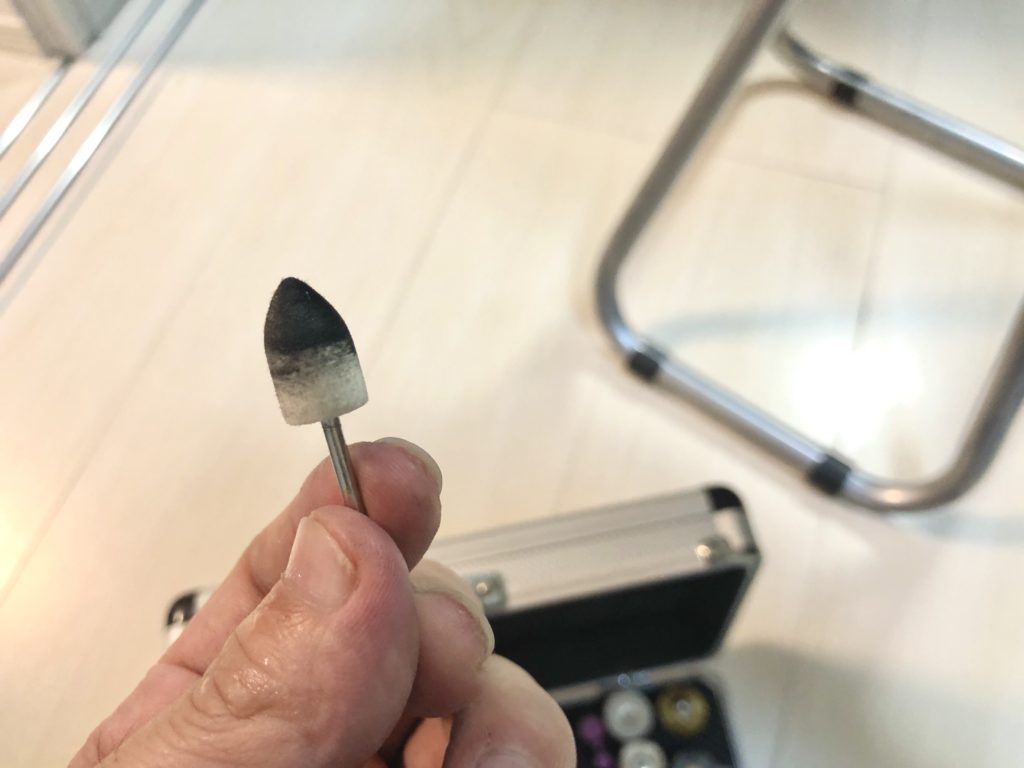
felt. I used it with piccards. It seems to be usable well as a finish. 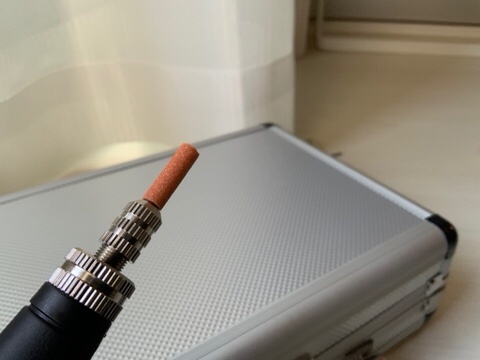
whetstone. It is better to have titanium when shaving. In the case of silver, it seems that it is not good not to be so rough. 
The shavings after shaving with a pink whetstone of silicon buff titanium can also be erased. Ideal for polishing. However, the inside of the ring cannot be polished. 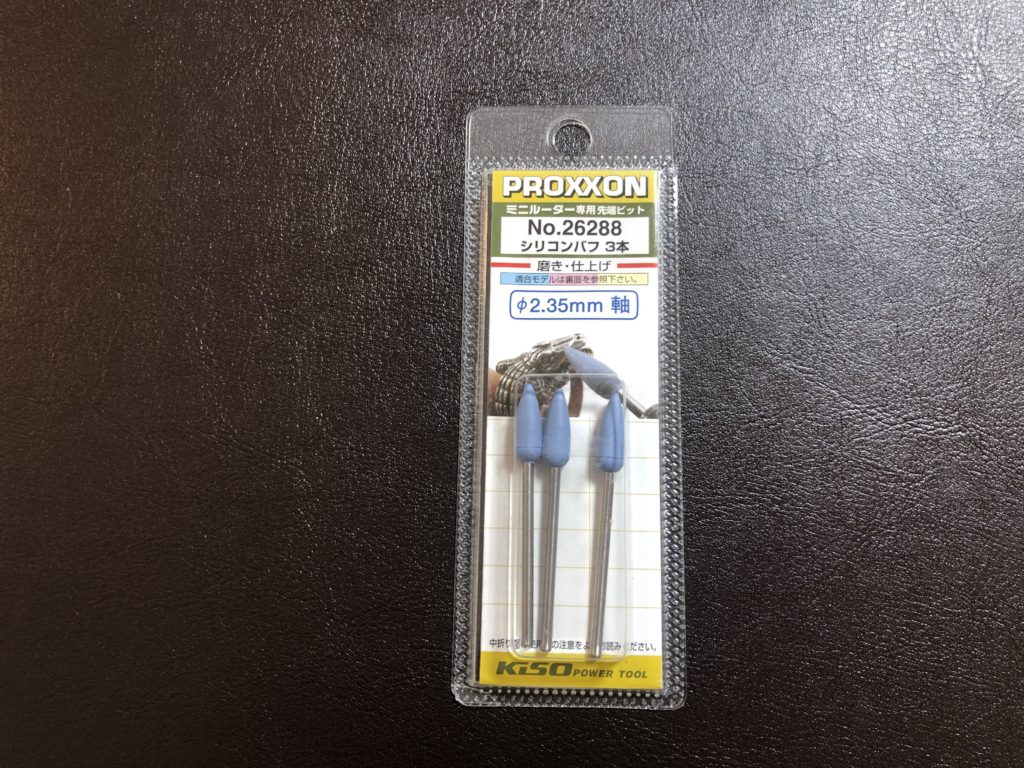
Silicone buff. It is selected as a shape that can polish the inside of the ring. However, it can be shaved immediately when the shape is different or the polishing power is weak. Can it be used for titanium? Silver got a good luster. However, it is too shaving
Extra edition, before and after of experimental samples
It is a before and after that I polished titanium and silver experimentally.

Before 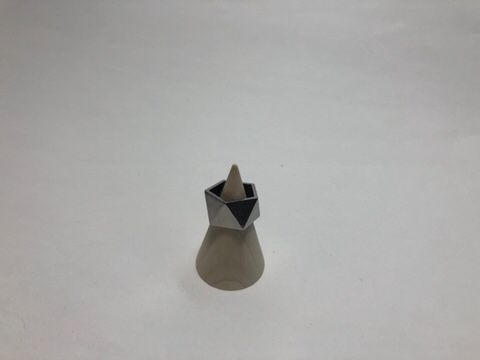
after
After polishing silver with silicone buff. A pretty beautiful luster came out. Since it does not go to the mirror surface, is it good to have a polishing cloth for silver? 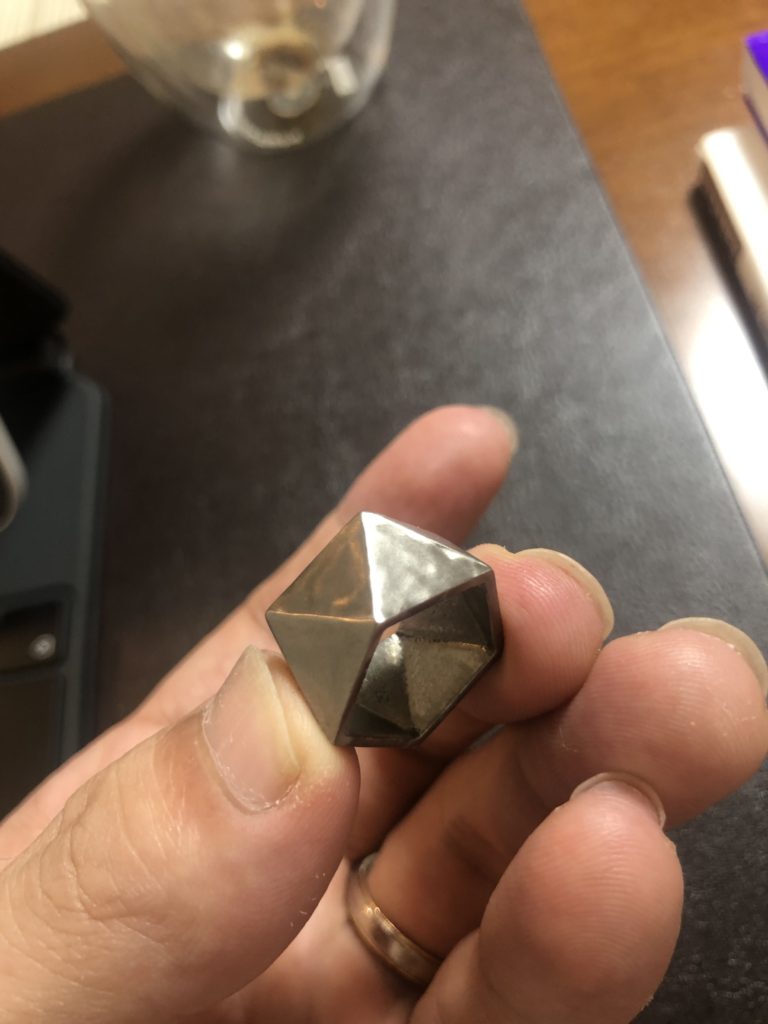
After polishing with a disk-shaped silicone buff. The rough part of the surface was also smoothed. I can’t polish the inside well.
How to polish titanium mirror
Well, this is the main topic.
We will introduce the order in which the direct metal sintered titanium ring created with DMM.make is mirror polished.
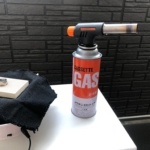
Before starting work, it is recommended to work in a well-ventilated place because it will be a work to scrape the metal.
I’m doing it on the verandah.
You should also wear safety goggles and masks. Even when done at home, unexpected things (such as debris) can fly because they handle things that rotate at high speed like luters.
In addition, it is safe that there is an apron etc. in order not to pollute clothes.
grind with a rough whetstone
In the case of DMM.make titanium, the surface is quite rough, so I shave boldly.
Titanium is hard, so it is polished with a whetstone.
At this stage, I use a rough whetstone called kisopower tool.
Anyway, it is an image of shaving the surface as a whole.
DMM.make castings generally have a fairly rough surface, so I think it is convenient to have a tip tool of this roughness.
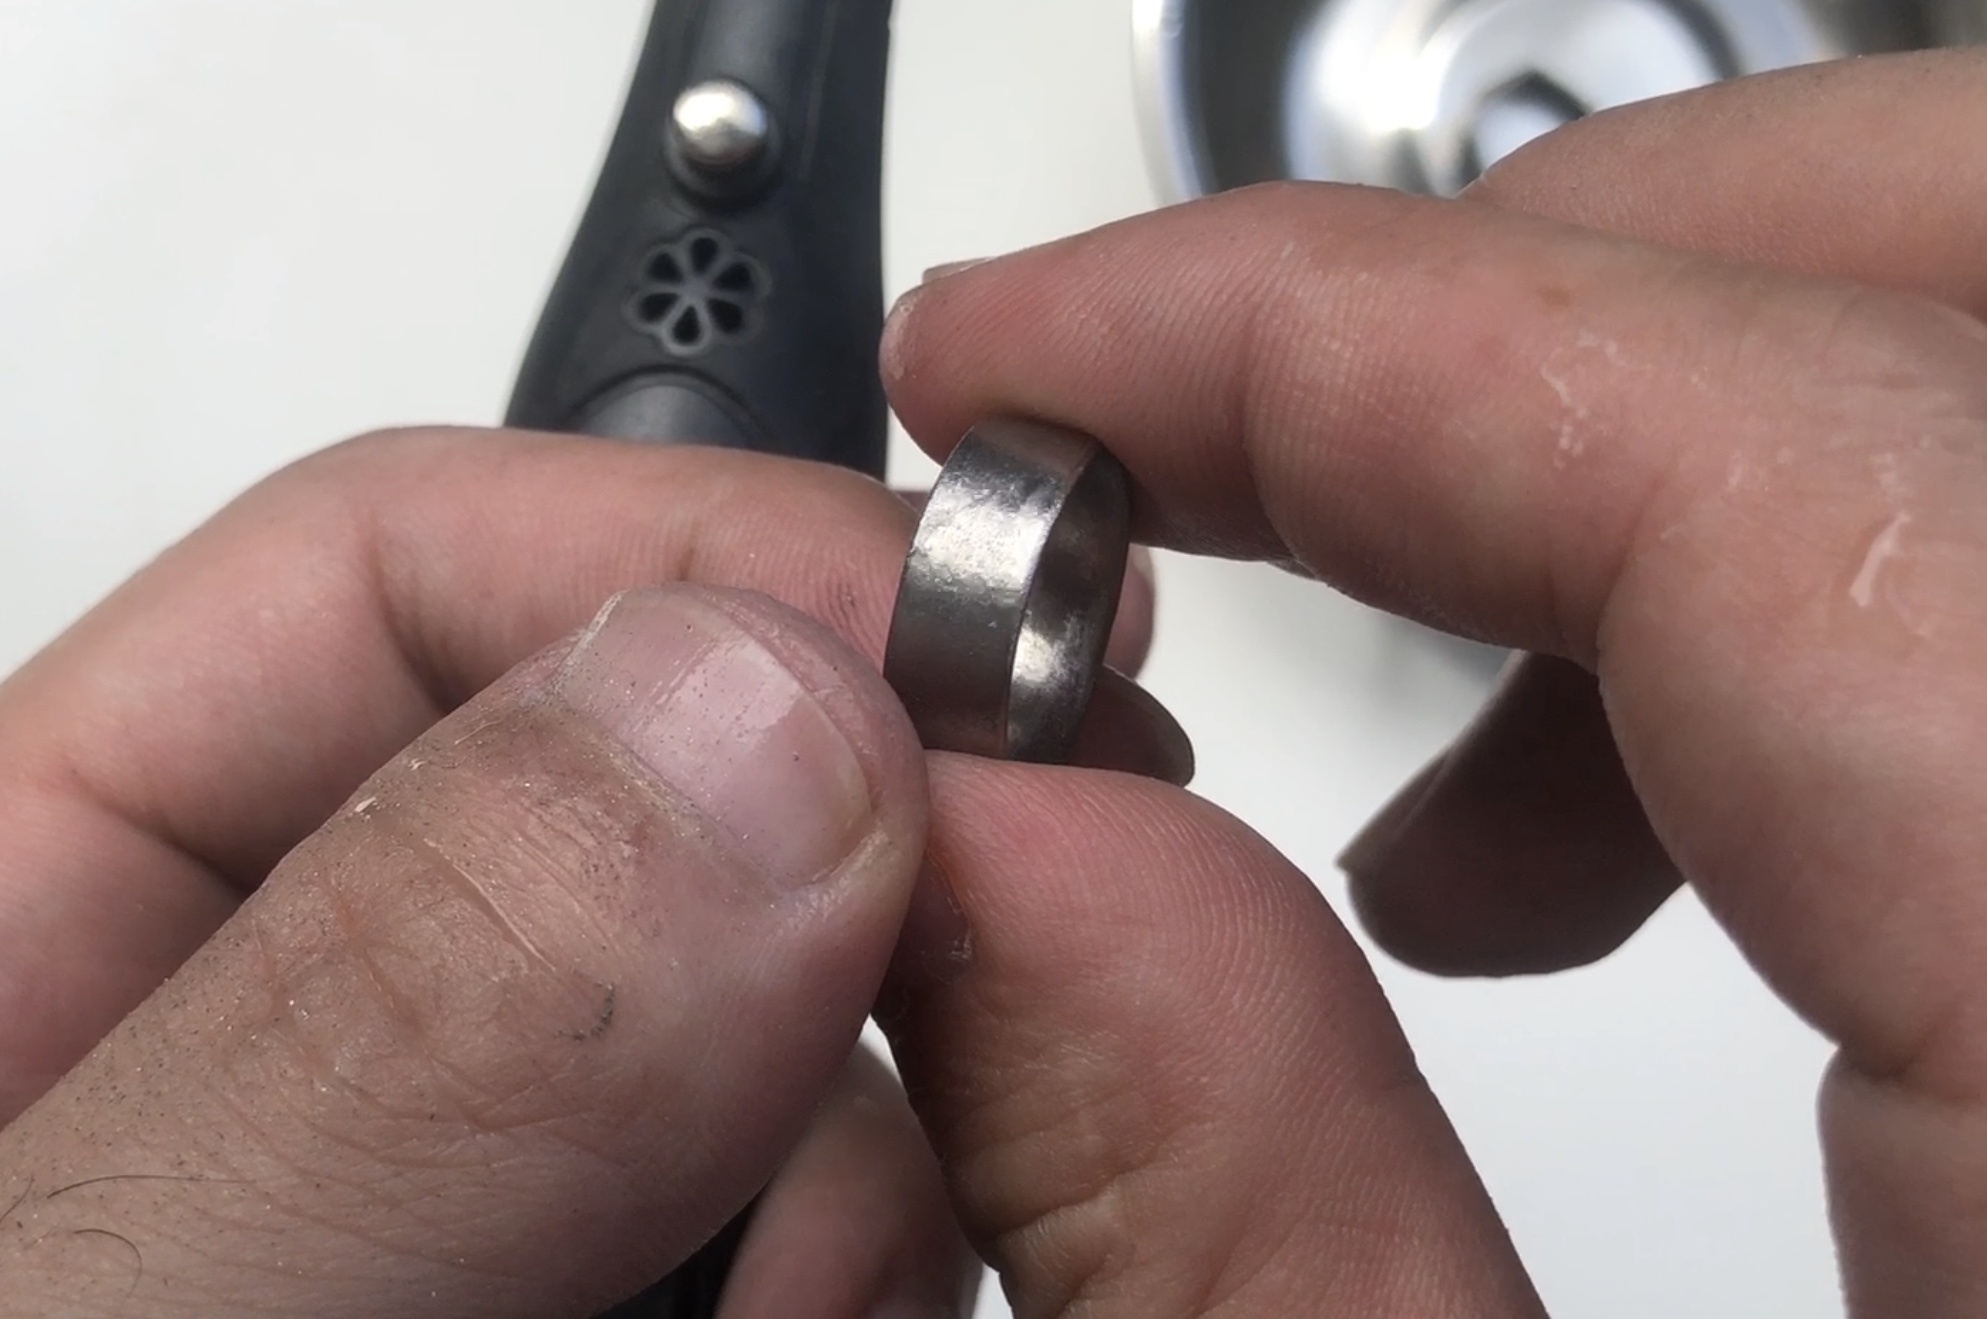
At this stage, the ring is like this.

polish with a fine whetstone
Next, I polish it with a slightly finer whetstone.
This is using the included one that came in the purchased luter.
It is basic to use the finer count one more and more using from the rough one.
At this stage, the surface is like this.
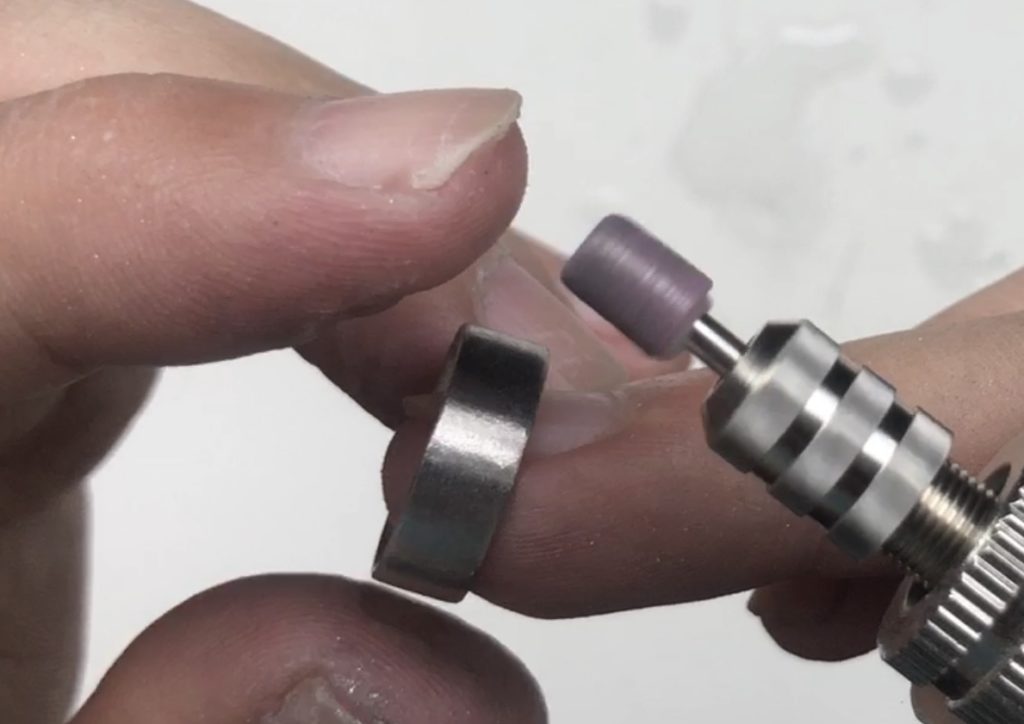

Polish with silicone buff for medium polishing
I don’t know if the term “medium polishing" is correct, but it does not produce the luster of the surface, it is still an image that raises the smoothness of the surface.
In this case, I think that it seems to be good to use a silicon buff.
Because titanium is hard, silicon will be consumed more and more, but if it is a buff of the shape introduced here, it is quite good to have.
Because it is large, I can not polish the inside of the ring as it is, so I think that it is good to use it by using it small or cut and making it small.
If it is silver or brass, I think that you can give a mirror gloss even if you start from here.
The ring surface looks like this. It is still a matte feeling, but the smoothness is increasing.

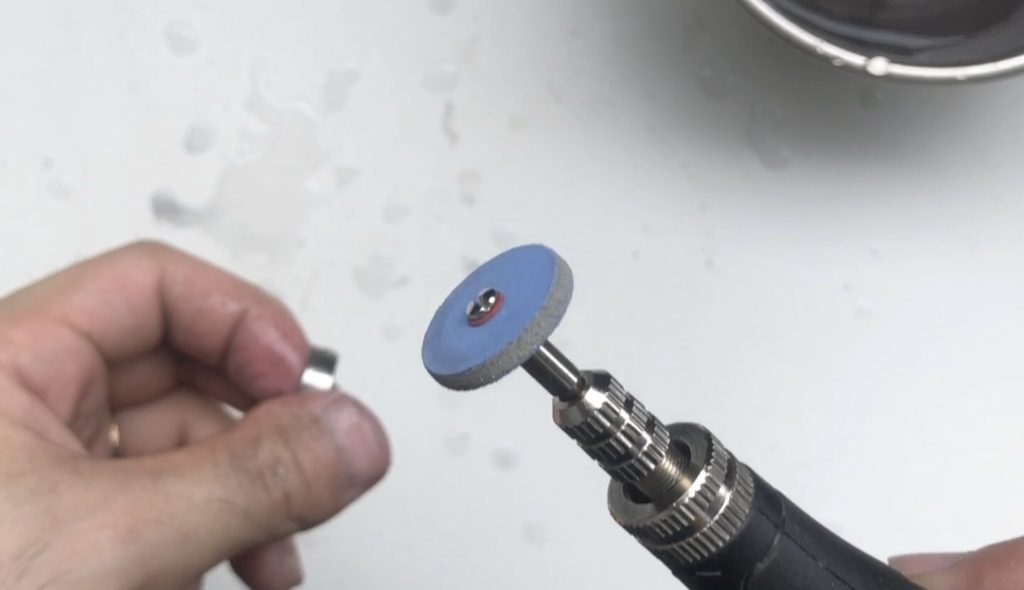
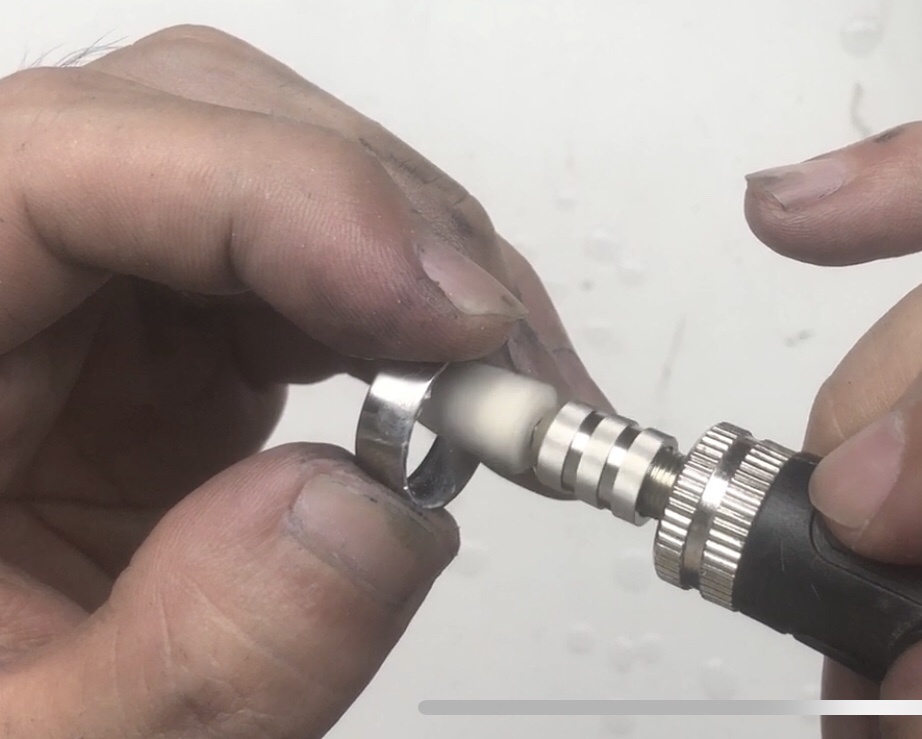
Polish with silicone buff
From here, it is the finishing process.
There are a lot of silicon buffs, but I will use fine count in order from coarse count.
It is difficult to introduce everything when it comes to this point, but I bought these at Suzoho.
If you are interested, please see the link to the coarsest one.

You may not need to use everything. This area is where I also want to study a little more.
Here is the ring after using the finest silicon buff of the last #1000.
The silicon buff has a shape as you can see, so it is difficult to polish the fine parts.
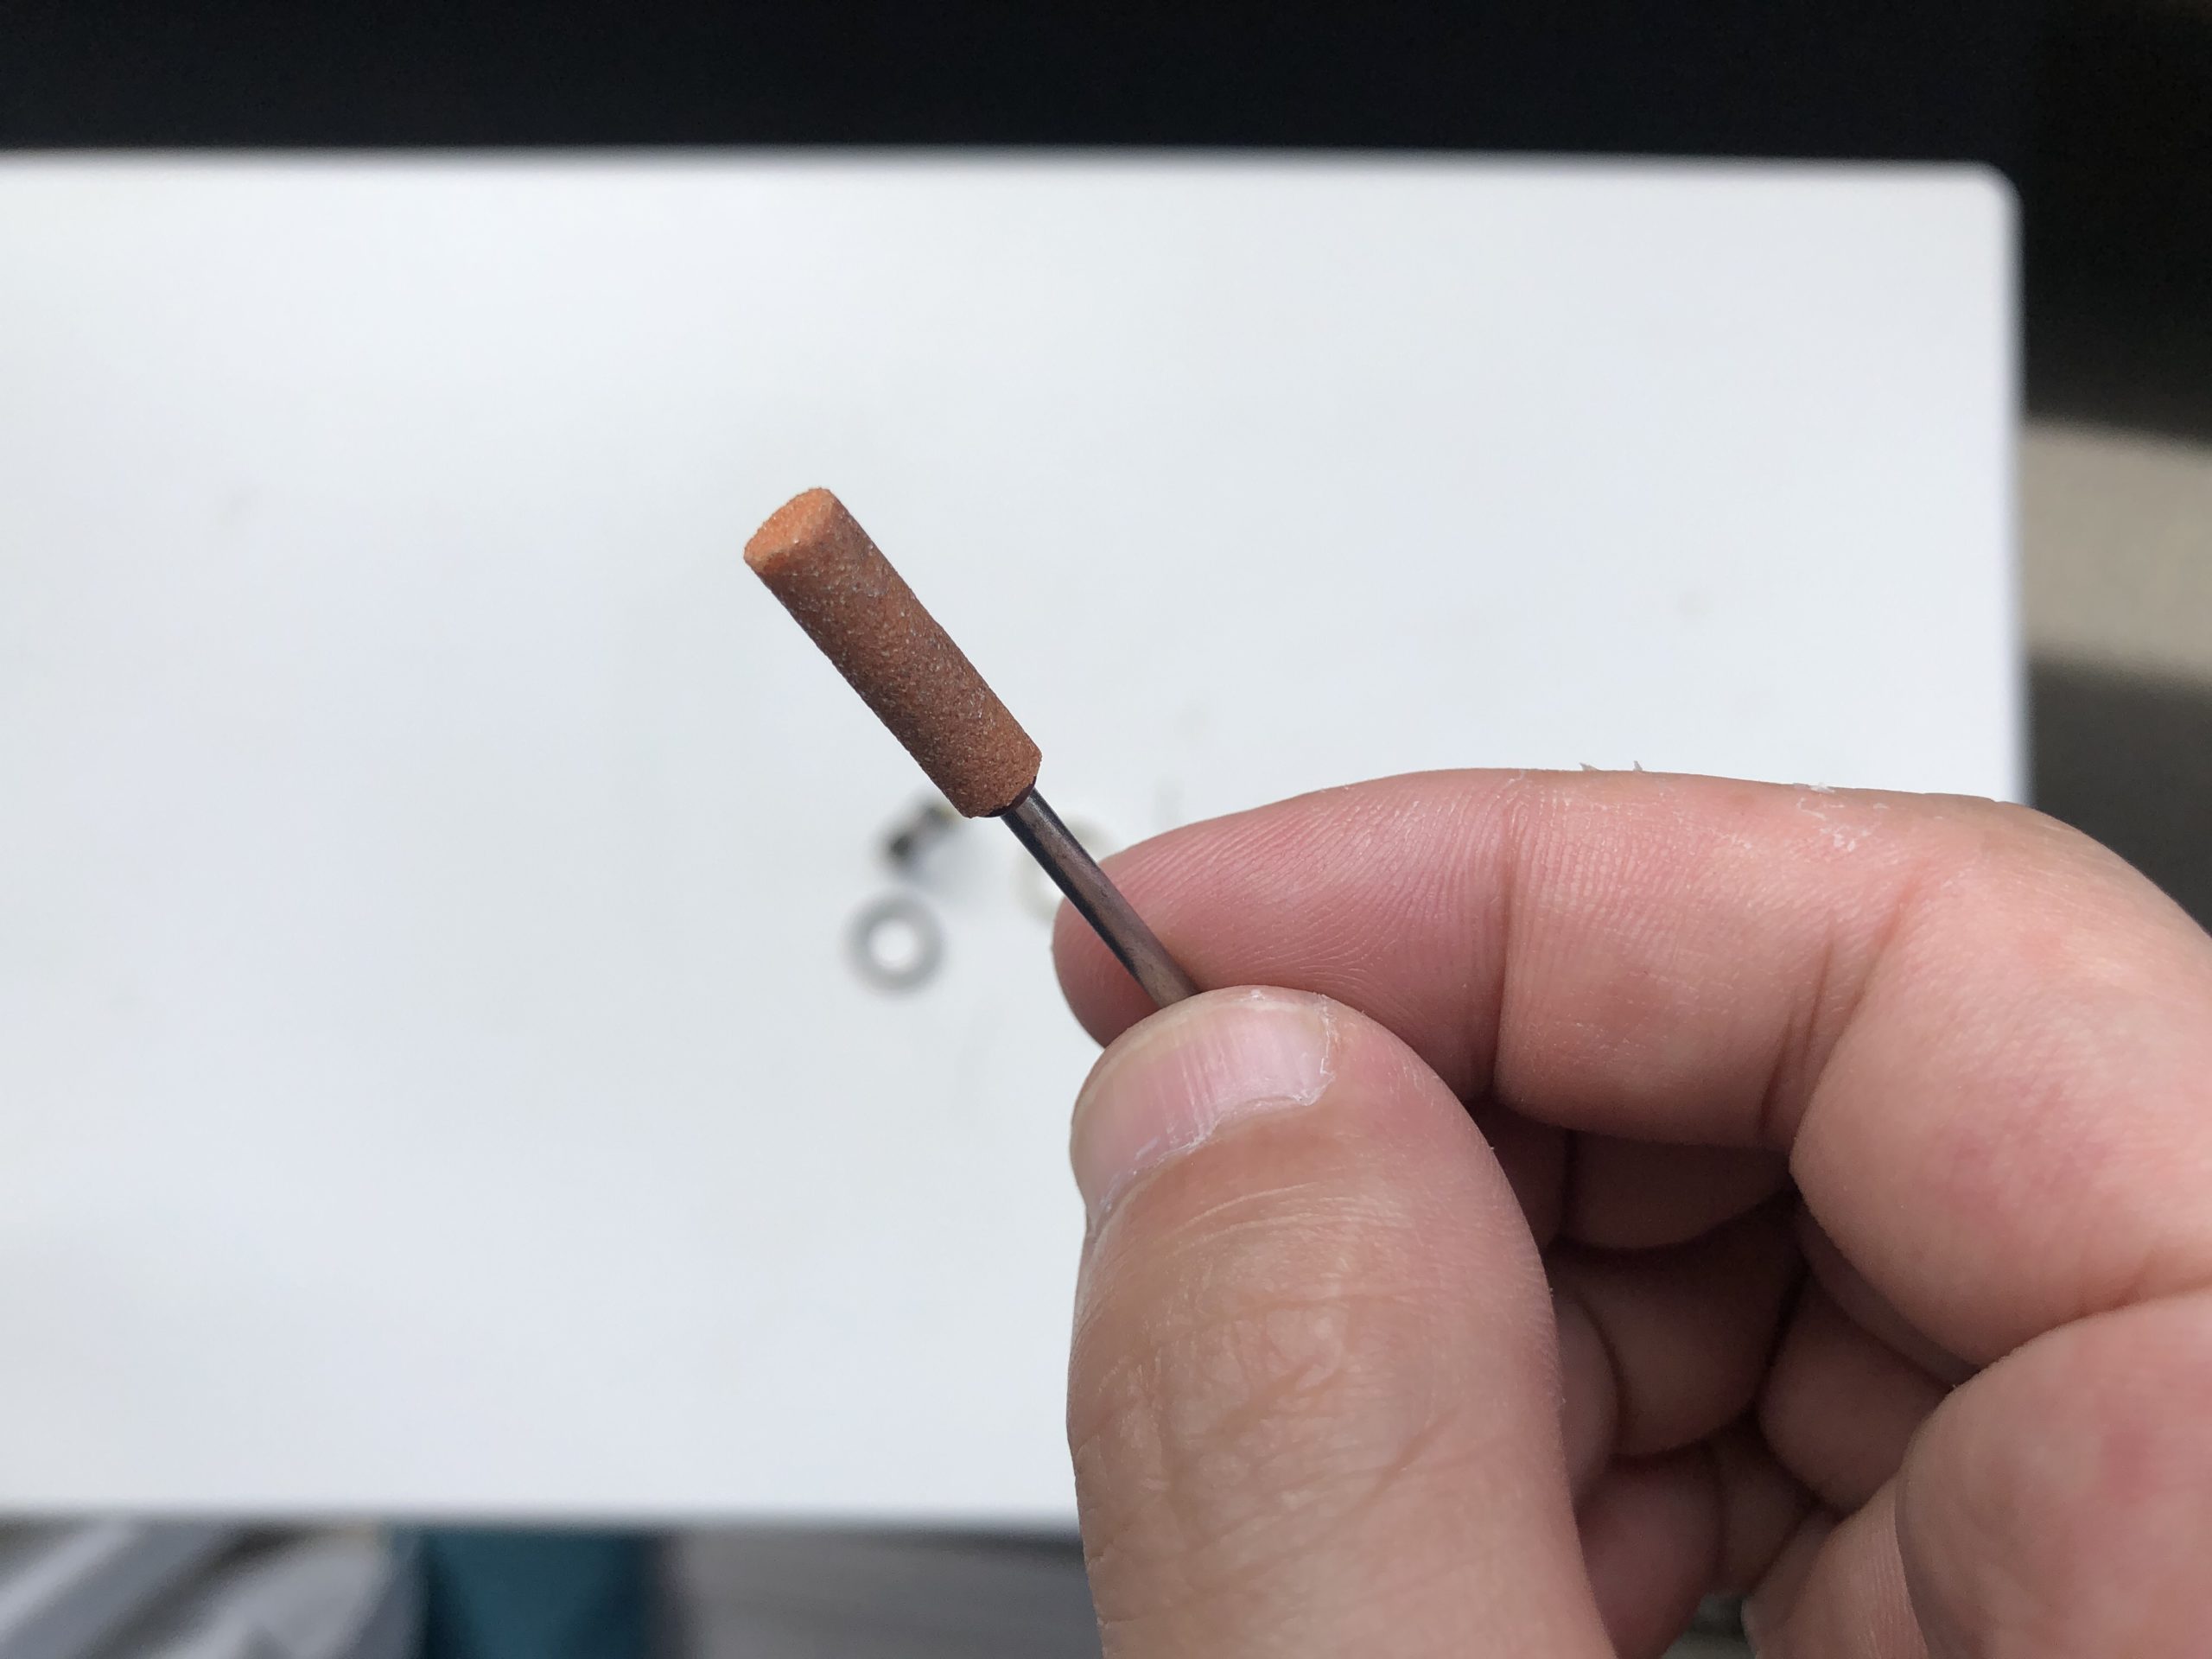
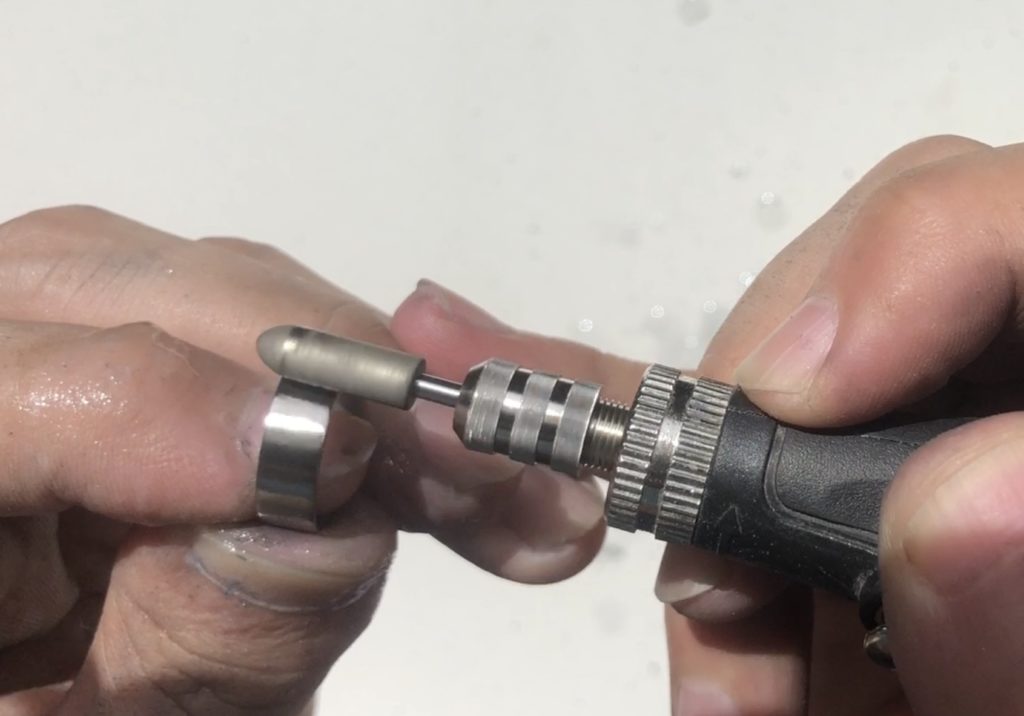
In such a time, it is recommended to use a tip tool called spiral wheel.

When using spiral wheels, you will also need only a rod called mandrel, so let’s purchase it together.

To be honest, it is excellent enough to make a mirror gloss only by this.
Not only one sheet, but also about 6 sheets are attached to one mandrel, and if multiple sheets are attached, it is easy to polish even on a flat surface.
I think that if you have all kinds of this spiral wheel no matter what kind of polish you want, you will be able to gloss mirror, so if you are wondering which tip tool to buy, we recommend that you align this spiral wheel first.
Considering the metal shaving, it is better to prepare the aforementioned whetstone and the rough count of silicon point, so if you want to polish something like DMM.make titanium, I think that other things should be considered.
Finished with compound and felt buff
It is a real finish when it comes to here.
It is a piccard that was also used to polish a brass ballpoint pen called Sakura Craft Lab 001.

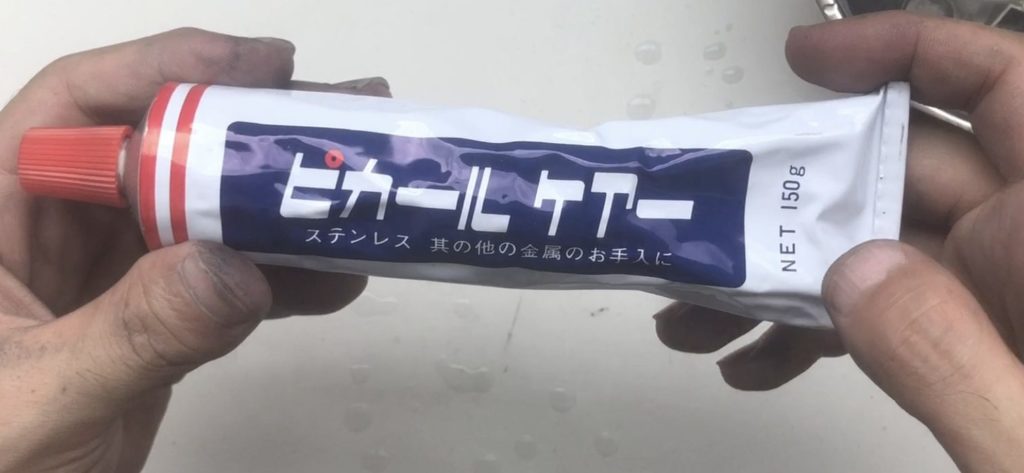
I think that it is better to use a felt tip tool when using such an abrasive (compound).
Piccards add to the gloss.

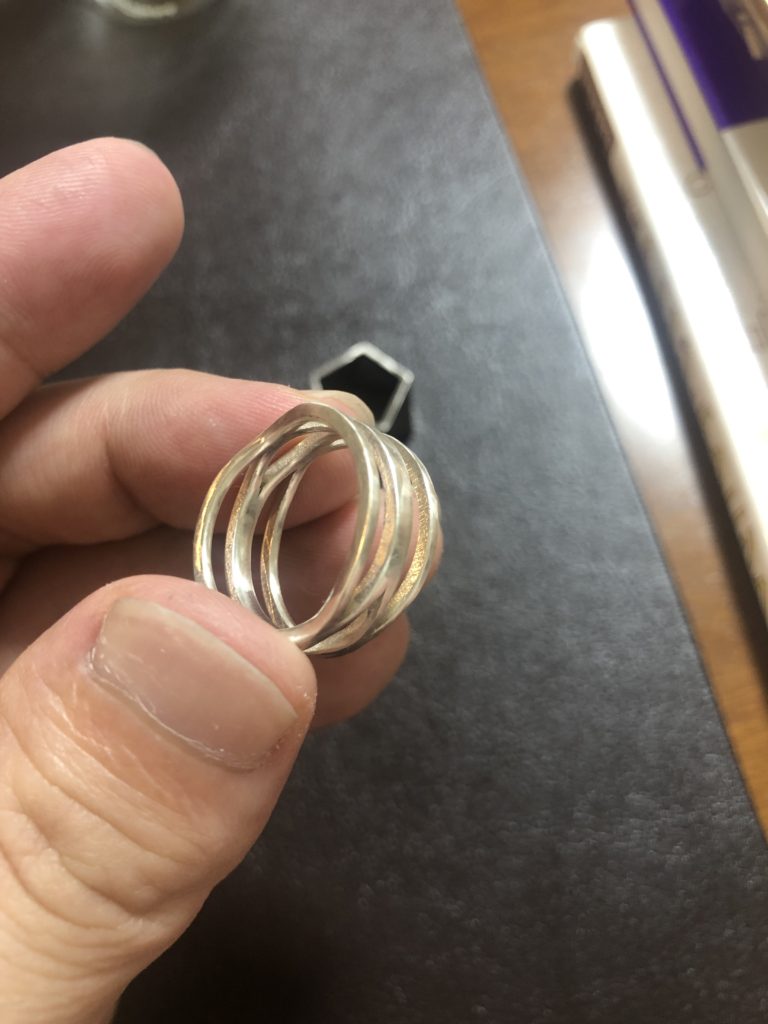
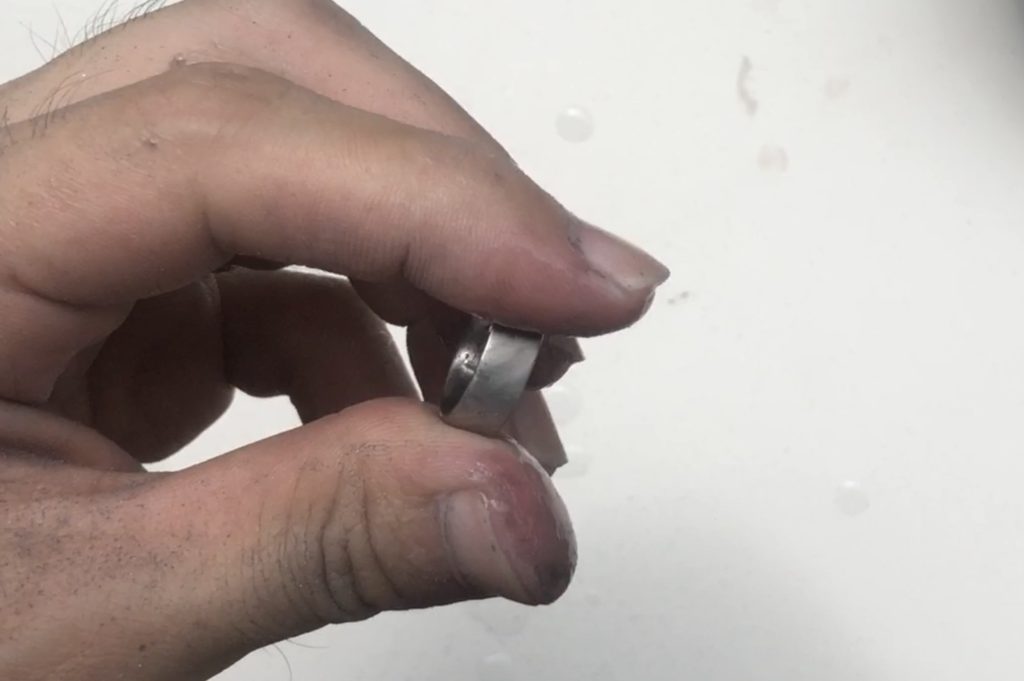
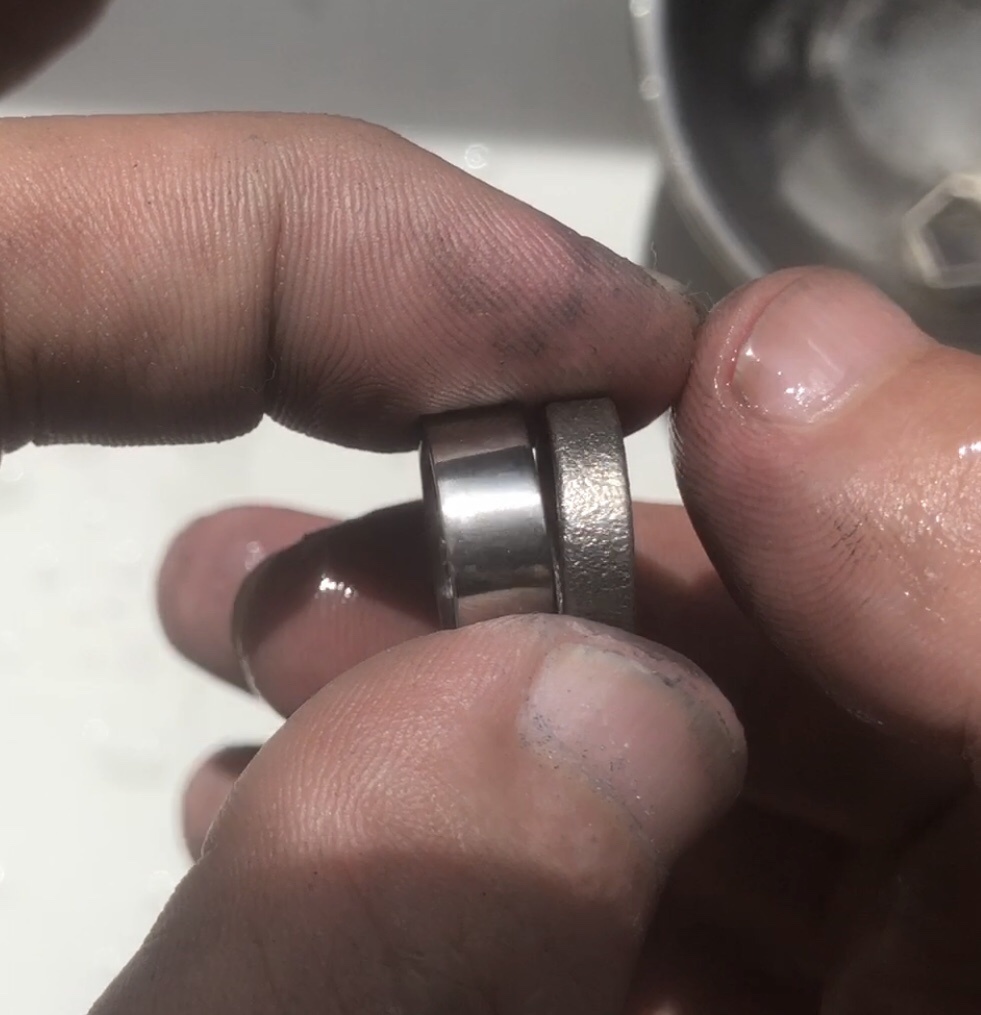
This completes! About two hours in total.
Now it’s complete.
Please see this image what is the difference before and after polishing.
By the way, I think that there is a thing called “Aobo" as a famous one in such a compound.
The type of abrasive material is different between this blue rod and pical, and the blue bar is chromium oxide and the pical is aluminum oxide.
In terms of particle size, aluminum oxide is coarser, so at first glance I think that the blue bar can give more luster, but in the case of titanium, pical is easier to produce luster.
After polishing the green one of #8000, the most detailed count of the above-mentioned spiral wheel, I compared it with a blue bar and pical, but the blue bar was not very shiny.
Titanium may be hard to come out gloss if it is too fine because it is a hard metal.
However, if you use a blue stick after piccard, it may get more luster, but I think that this is enough because only Pical will give a considerable luster if you do so far.
How about it? It’s completely different!
I think that it was able to be made into a ring with a considerably different impression.
As for titanium, I also tried to quench and color it. It is summarized in this article, so please take a look at it.
In addition to the mirror gloss, we have also summarized how to make it a matte finish, so please come here!
When anodized after mirroring, the color development is beautiful.
I hope it will be helpful to all of you.